Create an agent, train it on your website, and put it live in about five minutes.
This is the fastest path from a blank account to a working agent on your site. You can refine everything later.
1. Create your account
Go to hey.support and sign up with your name, work email, and a password, or use Continue with Google. You start on the Free plan, so there is nothing to pay.
If you signed up with email and password, check your inbox and confirm your address. You can look around the dashboard right away, but you need a verified email before you can deploy an agent.
2. Create your first agent
New workspaces open on the setup screen. Pick a template that matches your business (or Custom for a blank start), give the agent a name, and paste your website URL.
We train on your homepage right away and grab your logo. You add more pages, files, and sitemaps later from Knowledge, so one URL is enough to begin.
Select Create chatbot. You land on the agent dashboard.
3. Train it on more of your site
Open Knowledge from the top navigation. Select Add, then Website.
You have three choices:
- Crawl a whole site. We scan your pages first and show you what we found, then you pick which pages to index.
- Paste a sitemap URL. Point us at your
sitemap.xmland we read the list of pages from it. - Index a single page. Add one URL on its own.
For a first pass, crawl your site, review the list, and index the pages that answer real customer questions (pricing, docs, product, contact, FAQs). Skip blog archives and legal pages unless customers ask about them.
4. Try it before you ship
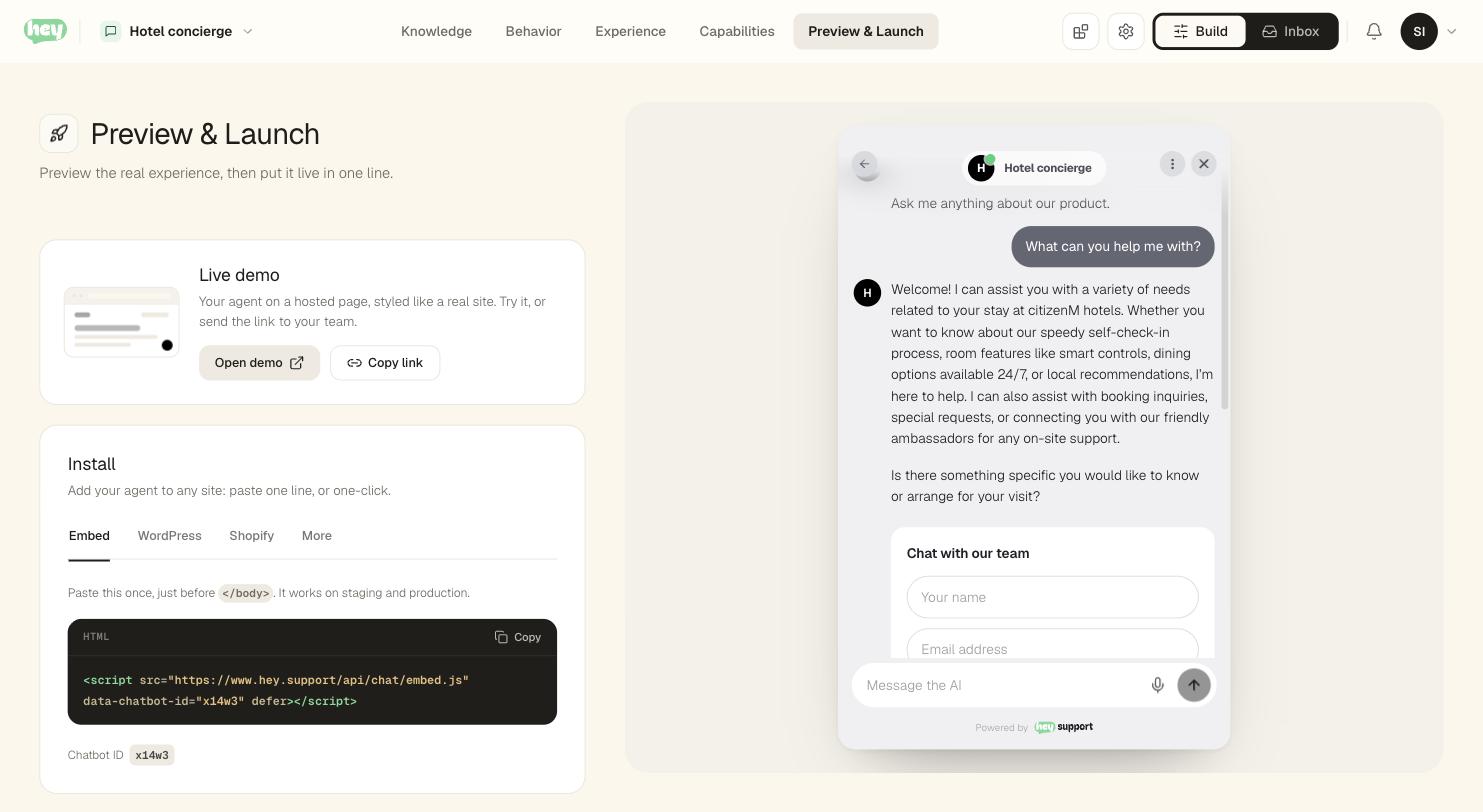
Click Preview in the top bar. It opens your agent on a hosted demo page, styled like a real site — chat with it exactly as a visitor would. Ask a few real questions and check the answers against your site.
If an answer is thin, that usually means the page it needs is not indexed yet. Go back to Knowledge and add it, or write a quick answer for the exact response you want.
5. Put it live
Click Deploy in the top right and copy the embed snippet. It is one line:
<script src="https://hey.support/api/chat/embed.js" data-chatbot-id="YOUR_ID" defer></script>Paste it before the closing </body> tag on your site. Then add your site's domain under Allowed domains. The agent goes live on that domain the first time real traffic reaches it, and the domain flips from Pending to Verified on its own.
That is the whole loop. From here, shape how the agent talks in Behavior, style the widget in Experience, and turn on tools like lead capture and human handoff in Capabilities.